The workflow represents the path a person follows to provide the necessary data to initiate the hiring process.
This begins with the landing page where the person arrives to start the form and includes all the steps you have set up to collect the required information and allow the viewing or signing of necessary documents.
This system helps reduce processing times, decrease the risk of errors, and optimize the overall experience for both individuals and the organization.
To create a workflow, it is essential to follow a few initial steps.First, configure the personal data by going to: Settings > Workflows > Custom Fields > Field Structure Then, activate these fields within the Step Content section via: Settings > Workflows > Form > Step Content Finally, create the Landing Page, which is the page the person will be directed to, by accessing: Settings > Workflows > Workflow Configurations > Landing Page
After completing these steps, you can access Workflows from the side menu and click New Workflow in the top right corner:

In the section below, you can define the Name of the workflow, along with a short description that gives the person a preview of the details, visible in the list of workflows to be completed.
You can also add a full description, accessible within the workflow, along with completion instructions to guide the person through the process.

You can also define whether the workflow should be active – and therefore available to be sent to people – or deactivated, in case it has not yet been sent.
To deactivate it, simply click the designated button shown below:

This feature allows flexible management of workflow availability, preventing the accidental sending of non-final versions.
In the "Brand" tab, you will find the list of all created brands, so you can select which ones to associate with the workflow.
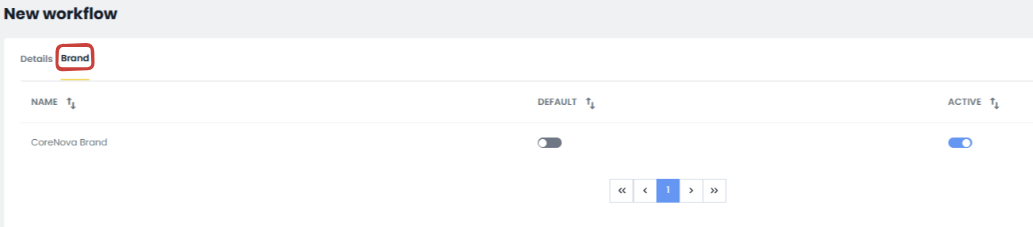
In this section, you can:
- Activate the brands you want to make available in the dropdown menu when sending the workflow
- Set a default brand, which will automatically pre-fill the brand selection field during workflow sending

This configuration allows for faster and more consistent brand management within workflows.
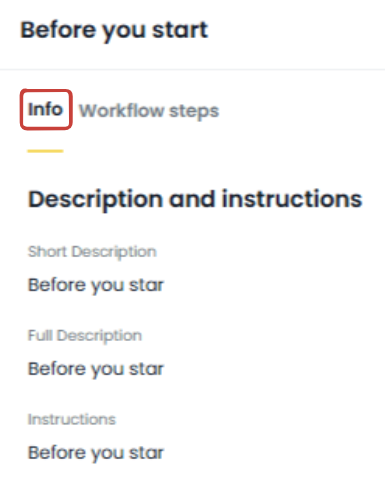
After clicking Save in the top right corner, the Info tab will display the workflow details:
By accessing the Step Workflow tab, you can configure the onboarding path for individuals by creating new steps using the Add New Step button.

At this point, a window will open where you can configure the steps:
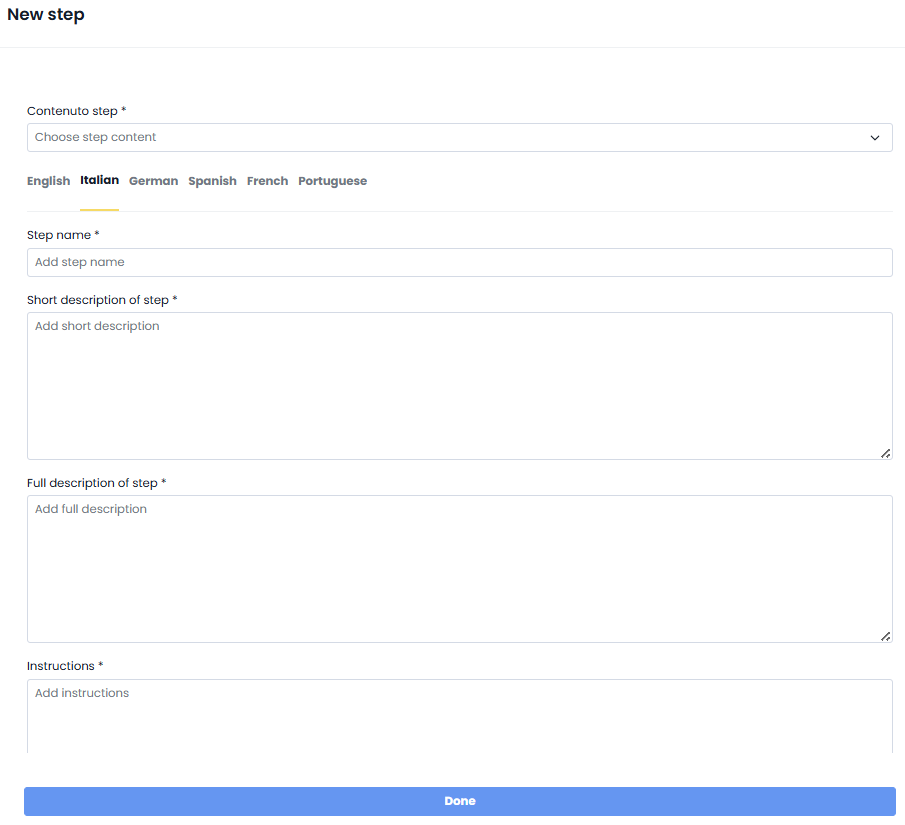
In this screen, you will select the previously created Step Content from the dropdown, enter the step name, the short description for the preview, the full description, and the instructions:

At this point, you will be able to view the added step, edit or delete it using the available icons, mark it as mandatory, and if there are multiple steps, define their order using drag and drop.

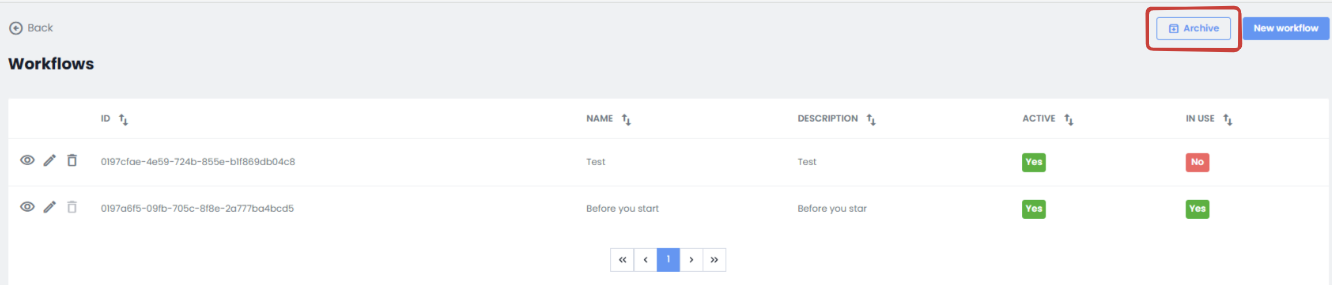
From the Workflows list, you can access editing via the pencil icon, delete it, and preview it using the preview icon.
In the following columns, you will see the Workflow ID, its name, short description, whether it is Active, and whether it is In Use.

By clicking the Archive button in the top right corner, you can view the workflows that have been deleted.
Was this article helpful?
That’s Great!
Thank you for your feedback
Sorry! We couldn't be helpful
Thank you for your feedback
Feedback sent
We appreciate your effort and will try to fix the article